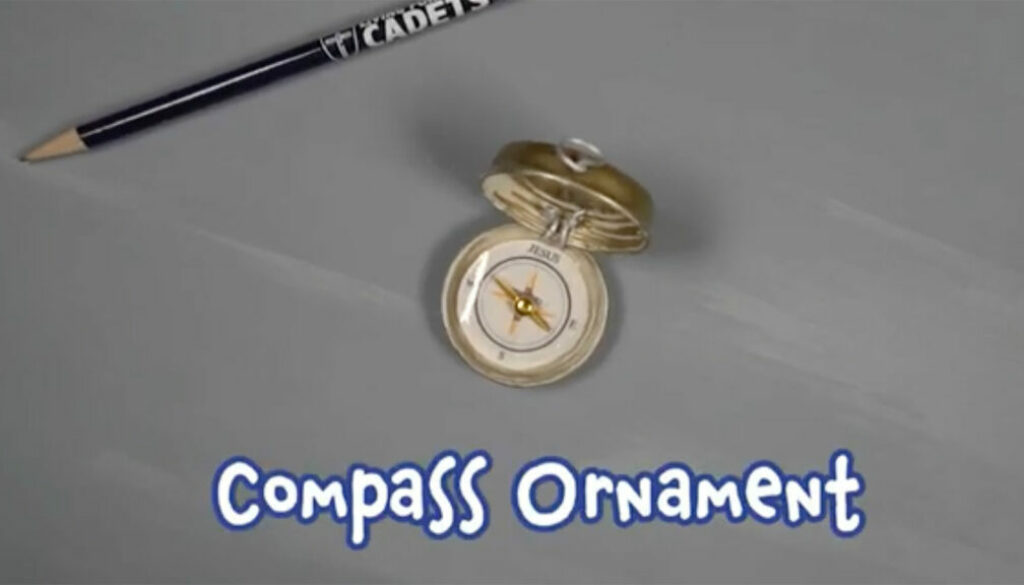
Christmas Project – Compass Ornament
Follow these instructions (and the video) to make a vintage-looking compass ornament!
Instructions (see video for details/example)
What You Will Need
- compass image graphics
- packing tape
- lids (from soft drinks, baby food, or similar)
- awl or small drill
- wire
- gold spray paint or paint markers
- needle-nose pliers
- glue
- hot-glue and hot-glue gun
Step #1
Download and print out the compass image graphics.
Step #2
Cover the graphics with a layer of packing tape.
Step #3
Cut out each graphic as squares, then carefully cut the graphic along the dotted border.
Step #4
Poke or drill two holes through the side of a cap.
Step #5
Poke/Drill two more holes the same way through another cap.
Flip cap.
Poke/Drill a third hole on the opposite side and centered between the first two holes.
Step #6
Use spray paint or paint markers to add a metallic gold coating.
Step #7
Cut two pieces of wire, about 2 inches long.
Thread the wires through the holes to join the caps.
Bend and cross the wire ends for a tight fit.
Twist the ends of the wires if needed.
Snip excess wire and use needle-nose pliers to make final adjustments.
Step #8
Make a hanger by bending a length of wire around the barrel of a pen.
Then twist the wire and snip the excess wire.
Push the hanger through the top hole.
Add a good dab of hot glue to the end of the hanger.
Step #9
Glue the graphic onto the inside of the lower cap.
Step #10
Bend the pins of a mini gold brad outward to flatten it.
Add a small dab of hot glue to the center of the graphic.
Quickly position the brad on the glue.
If you have any questions or comments about this video, please send them to info@calvinistcadets.org.

